Building Dashboards

New Dashboard
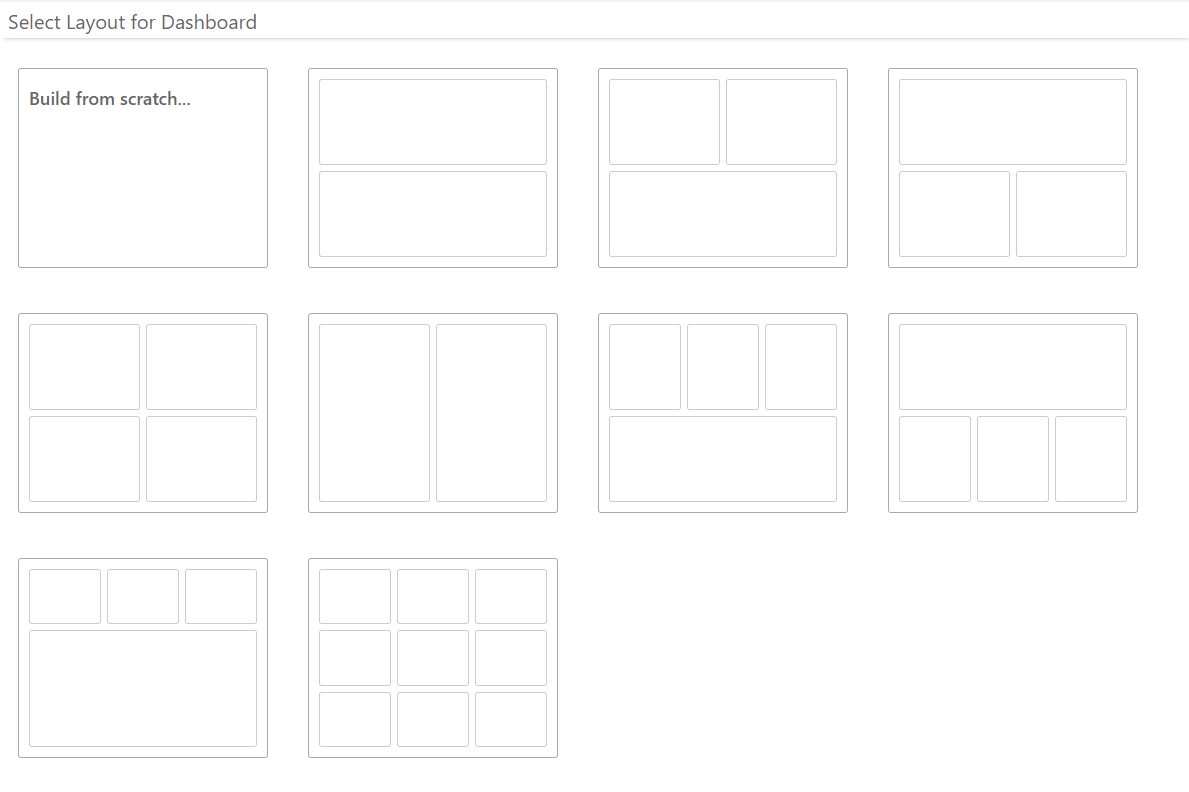
To create a new dashboard, click on the  button in the portal and select New Dashboard. Now you can select a layout template with predefined cards, or build the dashboard from scratch, as shown below.
Note: the Consumer role does not have access to create new dashboards, and thus will not see the New Dashboard button. Check your role from My Account.
Dashboard Design
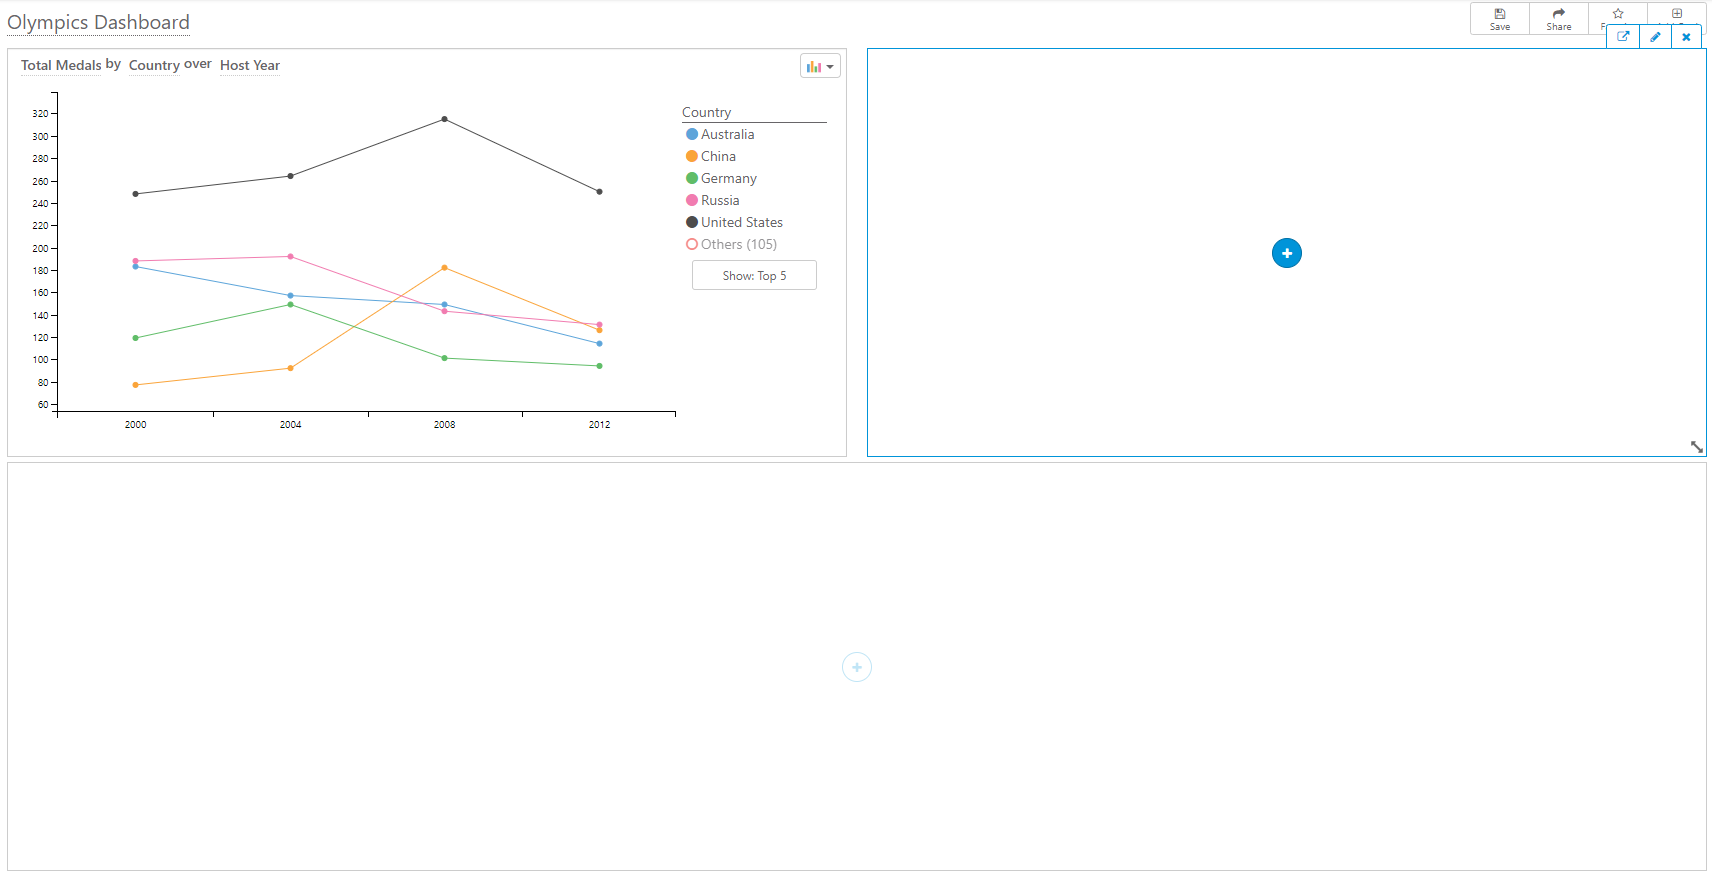
To build a dashboard, add Cards to the design work area and then add widgets (charts, tables, etc.) to each card. You can move cards by dragging them, or you can resize them by dragging their edges. The dashboard title can be changed by clicking on the title text.
Toolbar
The dashboard toolbar allows you to Save, Share, add to Favorites, add Cards, and Configure. Cards are dashboard content that can be visualizations, grid/tables, filters, or rich text/html. In the dashboard toolbar, you'll need to click Edit to enter design mode, which allows you to add, move, and resize cards.

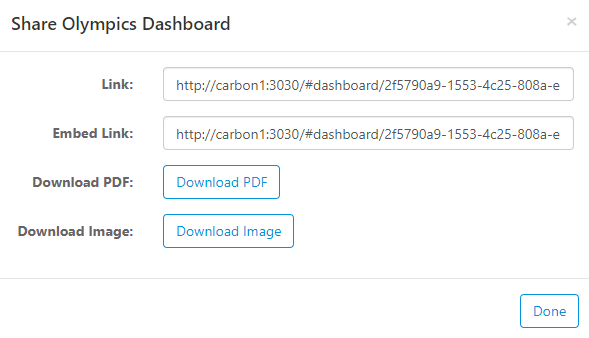
Share (PDF, Image, Link) or Embed
The toolbar Share button allows dashboards to be shared as a link, .pdf, or .png image. They can also be embedded in other sites using the Embed link.
Cards
Cards are panels that hold charts, tables, filters, or other content such as rich text/html. If you selected a layout template when you first created the dashboard, then blank cards will already be in the design work area. Otherwise, you'll need to add cards from the Toolbar. New blank cards look like this:

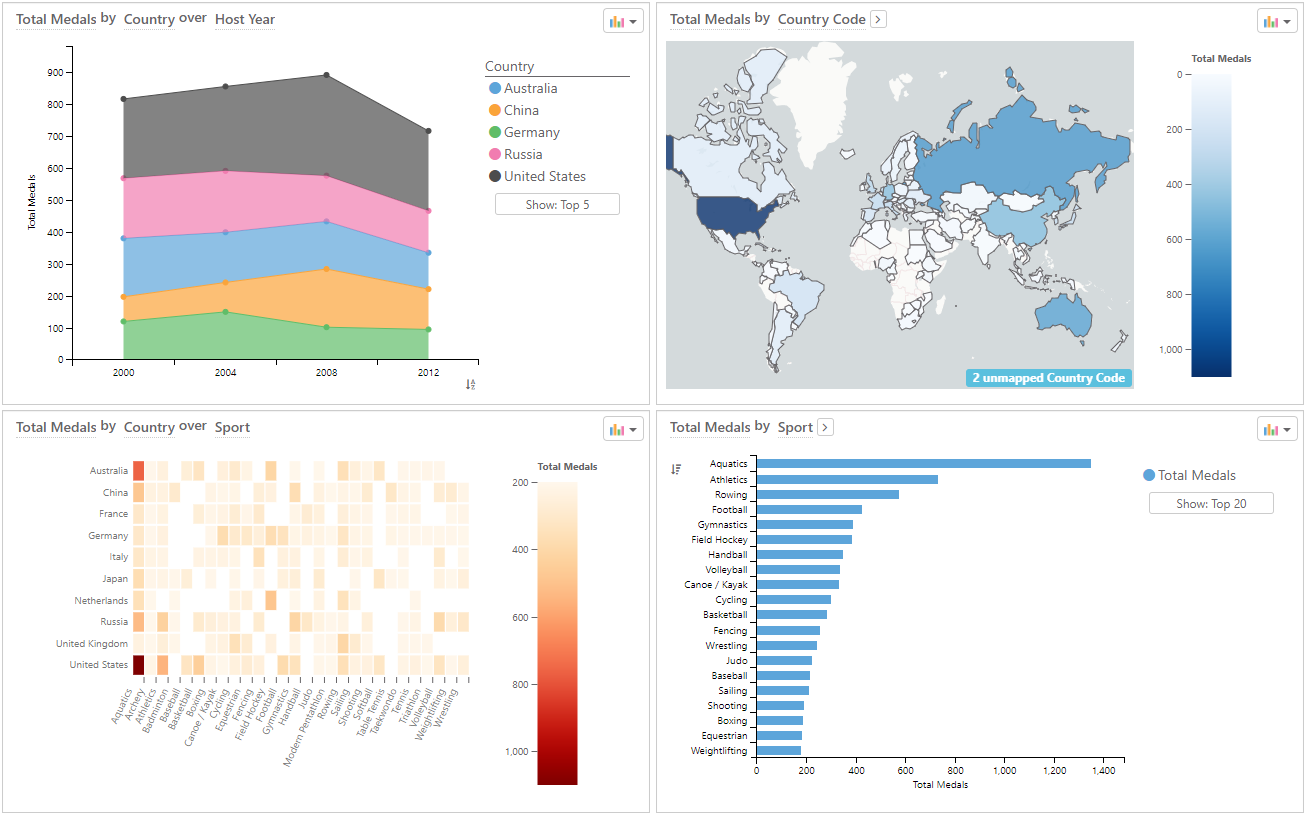
Content (Visualization)
Content cards allow you to add report objects such as charts and grid/tables to the dashboard. Click the  button in the middle of the card to add new content to the card. You can always edit the content in the future from the Card Toolbar edit button.
Clicking the Add or Edit buttons will open the Card Designer (shown below), which allows you to design new content from a New Analysis or search existing content. When searching existing content, double-click the report to open it for designing. Once you're done designing your content, click Done and it will be added to the dashboard.
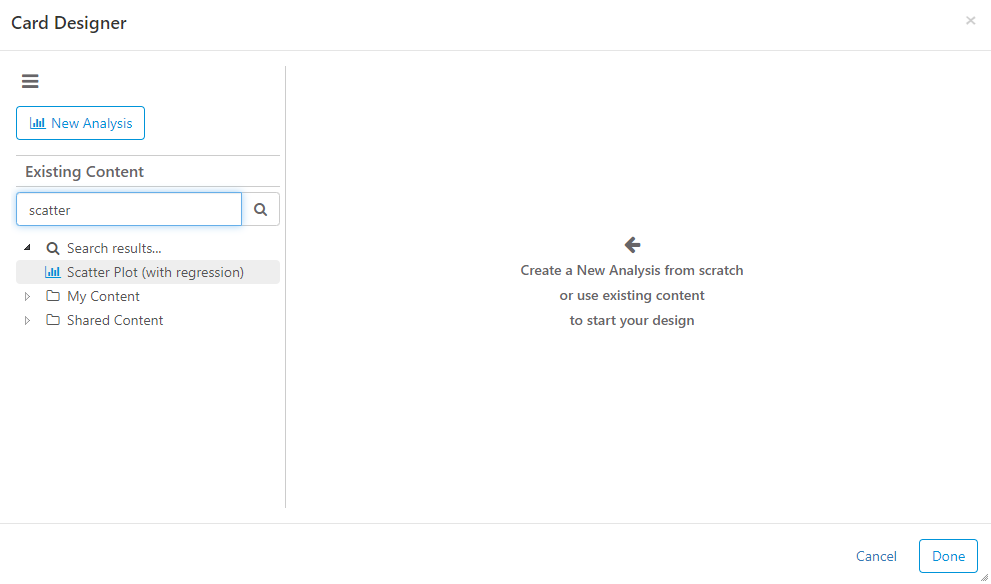
Important - when you use existing content on a dashboard card, any modifications will NOT affect the existing report. Also, any modifications to the existing report will not affect the dashboard content item.
Filter Panel
Filter panels are cards that contain global filters. Global filters are applied to the data in every card on the dashboard. Like regular cards, filter panels can be resized and moved to anywhere on the dashboard.

Note - if a filter card does not exist in the dashboard, then the filter panel will display in the dashboard header.
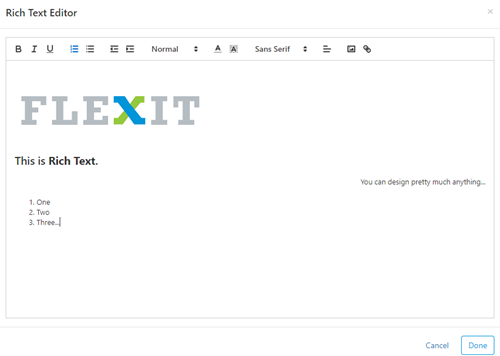
Rich Text
Rich Text cards allow you to design with advanced text and image features to get a page design exactly as you like.
Card Toolbar
The card toolbar appears in the top-right of a card when you hover your cursor over the card. The options available are:
 - opens the card in a new window/tab
 - edit the card content, or add new content
 - removes the card from the dashboard
 - shows filters applied to the card

Using Dashboards
When running dashboards, you are no longer in Design Mode. Although you can no longer move, resize, or edit cards, there are many interactions available.
In the top-right of each card, you can click the New Window button in the card toolbar, which opens the card in a new tab.
Next to the Open in New Window icon, the filter icon allows you to quickly see what filters are applied to the specific card.
Lastly, you can interact with the visualization just like any other report by hovering, clicking, and so on.
Schedule Delivery
You can schedule email delivery of dashboards from the FlexIt Portal by following these steps:
- Find the report or dashboard in the FlexIt Portal folders
- Click the ellipsis on the right of the report, or right-click the report
- Select Schedule
- Enter the schedule (daily/weekly/monthly), who to deliver it to, and what file formats to deliver
- Click Save and the schedule is set