Building Data Portals
New Data Portal
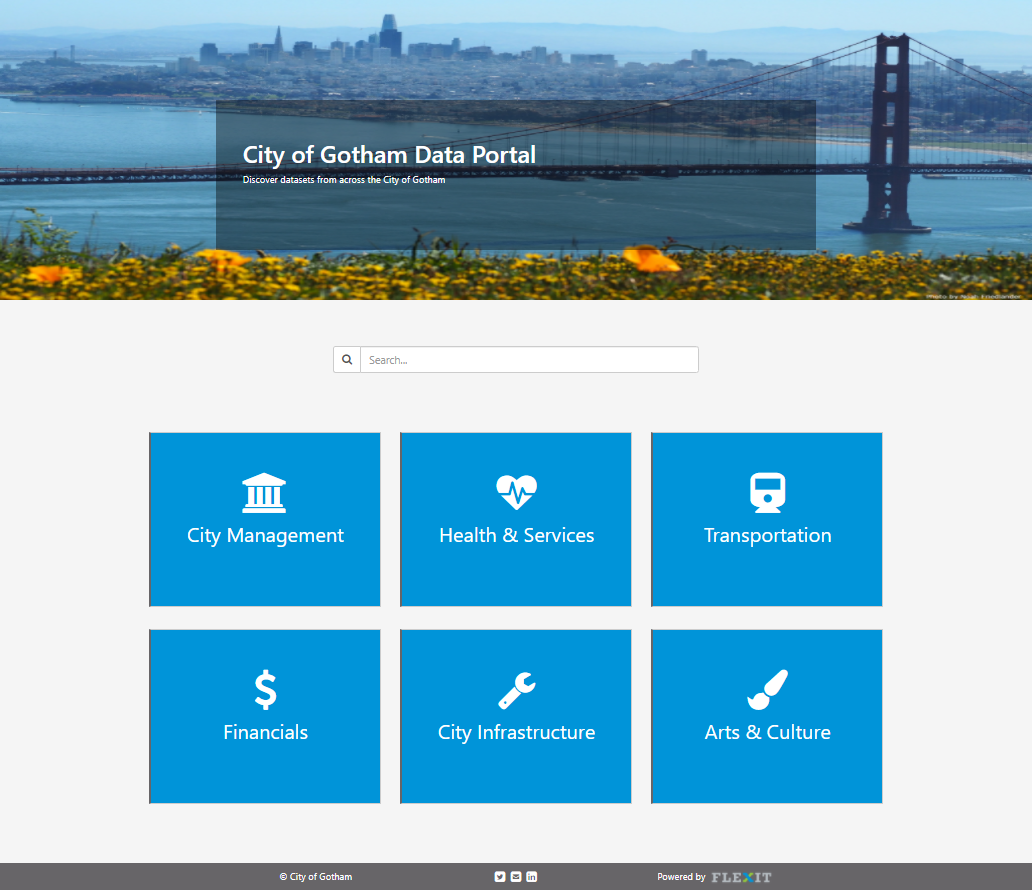
You can create new data portals from an empty template or from existing content, detailed below. Data portals consist of a Header, Tiles, and Footer that can be modified to fit your design goals.
Note: the Consumer role does not have access to create data portals, and thus will not see the New Data Portal button. Check your role from My Account.
New Portal from Empty Template
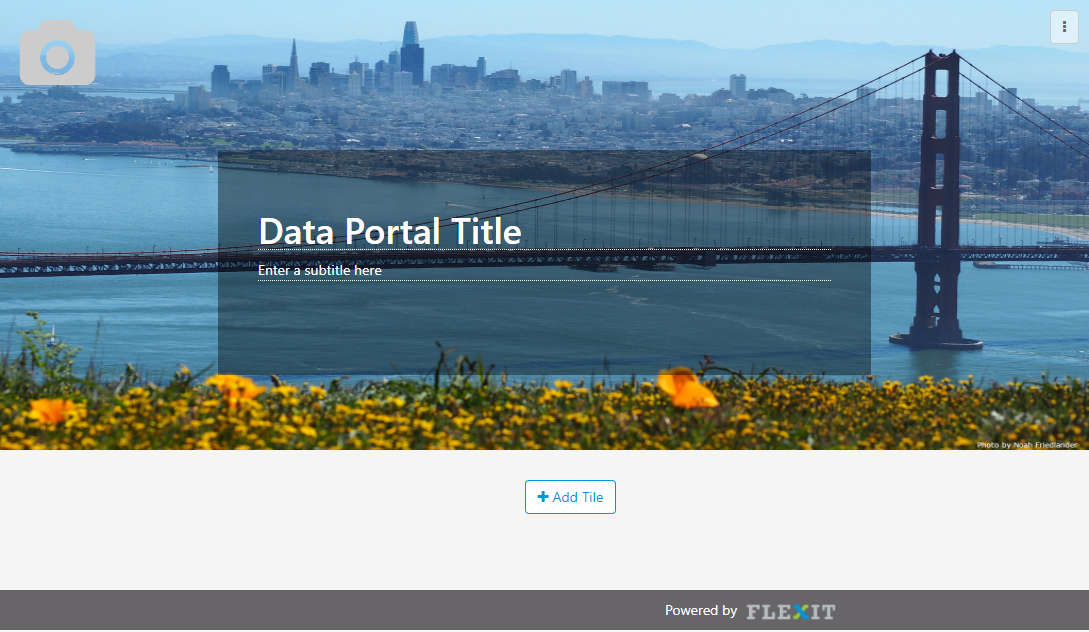
To create a new data portal from scratch, click on the  button in the portal and select New Data Portal. This opens an empty data portal from a template that allows you to configure your data portal as desired.
New Portal from Existing Content
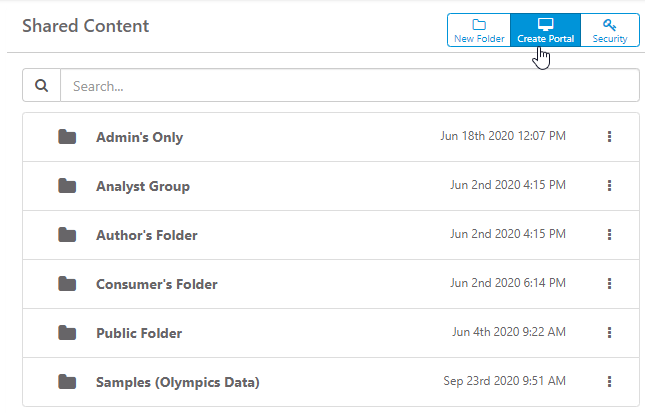
To create a new data portal based on existing FlexIt content, navigate to the folder that contains the content and click the Create Portal button at the top, as shown below.
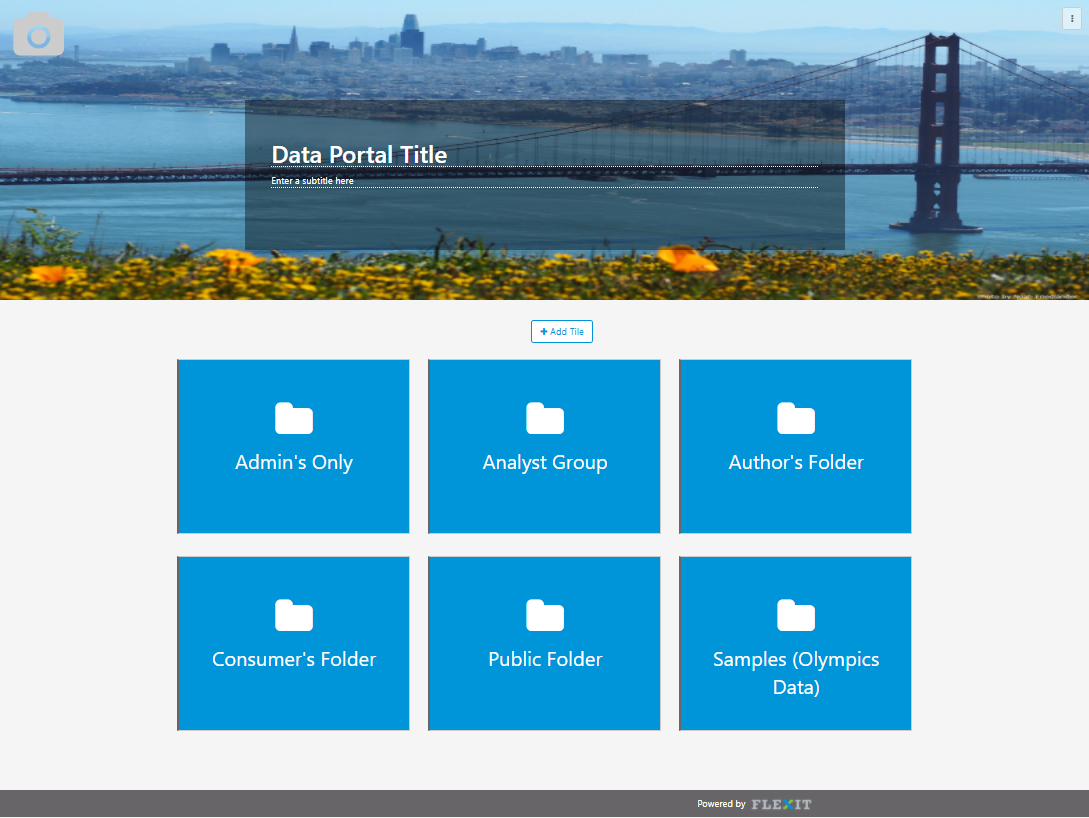
This will create a new data portal with tiles for each of the content items, as shown below.
Portal Menu
Click on the ellipsis in the top-right of the data portal to access the portal configuration menu. From the menu, you can Save, Share, mark as a Favorite, return to the FlexIt application, and Toggle Preview to see what it looks like to consumers. You can also access the Portal Settings.
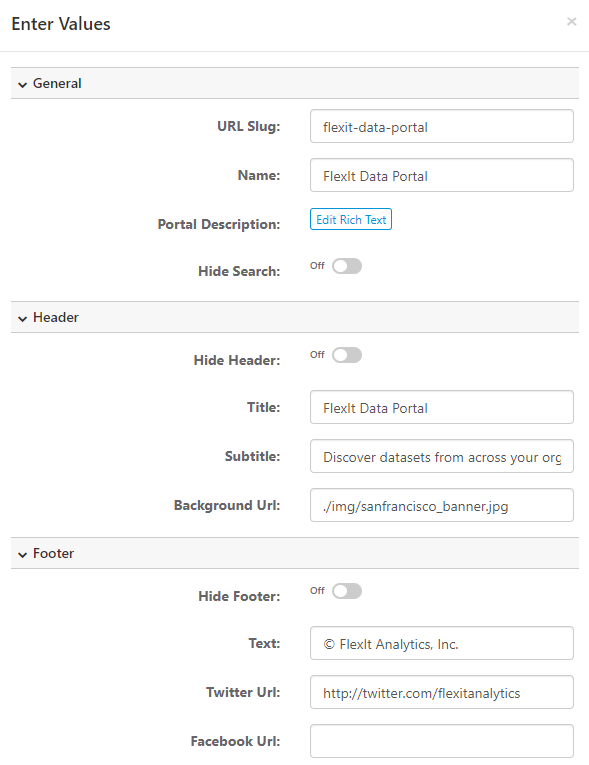
Settings
Portal settings allow you to hide the header, footer, or search bar. You can also set the URL Slug that will appear as a permanent URL that can be shared. You can also control header and footer content, as well as the Data Portal name and description.
Header
Background Image
You can configure any background image you like by clicking on the camera icon in the top-left of the portal and setting the URL to the desired image.
Title and Subtitle
You can change the portal title and subtitle by clicking on them and entering the desired text.
Tiles
Tiles can link to external content as well as FlexIt reports, dashboards, data portals, and folders. They can also be designed with icons, background colors, images, or HTML/Rich Text.
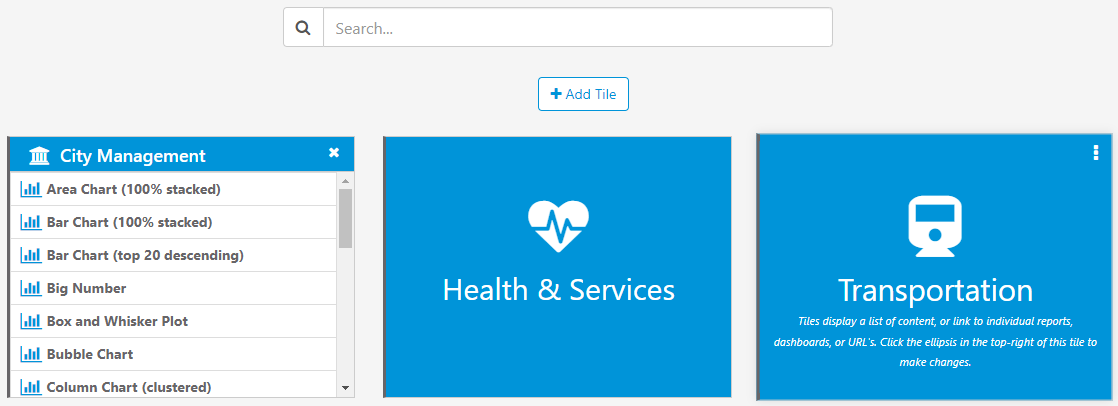
Search
The search input allows users to search content in any of the tiles, as well as any content in folders that are underneath any of the tiles.
Add Tile
Click on the Add Tile button to add a new tile.
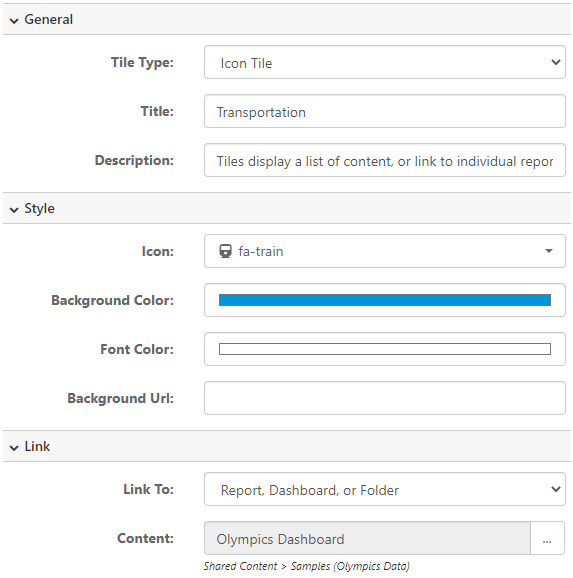
Edit Tile
Hover over the tile, click the ellipsis, and select Edit. Choose an Icon Tile for the standard icon with title and description, or a Rich Text Tile to design it however you would like. Use the design options to change formatting and appearance. At the bottom, link to the desired content.
Remove Tile
Hover over the tile, click the ellipsis, and select Remove to delete the tile from the data portal.
Footer
Add text or social media links in the footer, or hide the footer from the Settings menu.